

How to Apply False Lashes

Ever wonder why more women aren't wearing false lashes? And if you have ever struggled with them at any point, you can understand. IT'S THE APPLICATION! More than likely you're reading this because you've had trouble applying them in the past, or are curious to get your feet wet and start your lash journey. Whatever the case may be, you've come to the right place! (If you want to know what lash style is best for your eye shape, see our guide here)
STEP 1: REMOVE LASH FROM TRAY
Remove your lashes from their half-moon trays. Either use your fingers or a lash application tweezer. Take from the outer corner of the lash band (gently) and slowly pull them off. It should come off fairly easily, although there is a tiny amount of sticky adhesive to keep them on the tray. Do not pull from the lash hairs directly or you could pull them out and undo the band. You won't have to be confused which eyelash goes on which eye, the left lash in the tray is for your left eye and the right lash in the tray is for your right eye. Moving on!
STEP 2: MEASURE LASH AGAINST EYE
This step is pretty important and one I see get neglected quite a bit. In a perfect world each pair of lash we purchase will be made specifically for our eye, but in the real world we need to make some alterations! Tailor the lash for our eye - if you will. Once you've removed the lash from the tray, take the lash and place it (without glue) on your eye and see if it is too long. If the lash band extends past the inner and outer corners of your eyes, take your trusty beauty scissors and trim a tiny amount from the outer corner of the eyelash. Generally it's taboo to trim from the inner corner of the eyelash - but if the inner corner is a bit spiky and bothers you - trim away! Always trim small amounts and check the lash against your eye to see if you need to trim more. Once it becomes a perfect fit for your eye - you're all set and don't have to worry about trimming them anymore.
STEP 3: APPLY SOME MASCARA (optional) & CURL YOUR LASHES
This step could be optional for some, especially those of you who have naturally dark lashes that will blend with your false lashes. For those who have lighter hair colors, and the lashes you are using are black, our advice is to use a light coat of mascara to your natural lashes so your bright natural lashes don't stand out against the dark false strip lashes. Some ladies choose to apply mascara at the end when their false lashes are on, BUT if you are using Nelo Cosmetics lashes, we don't recommend that. Our lashes are all handmade and meant to last many uses. Although applying mascara will really make them more dramatic, it will kill the lifespan of the lash. They won't last as long and it will be a pain to clean and maintain. But for lashes you don't want to use more than 1-2 times, apply as many coats of mascara as you so please.
You also may want to curl your natural lashes because some have very straight lashes which will stand out when the false lash is applied. You will slightly see the straight lashes poking down and the false lashes curling up. Our goals is to make sure everything is blended and seamless.
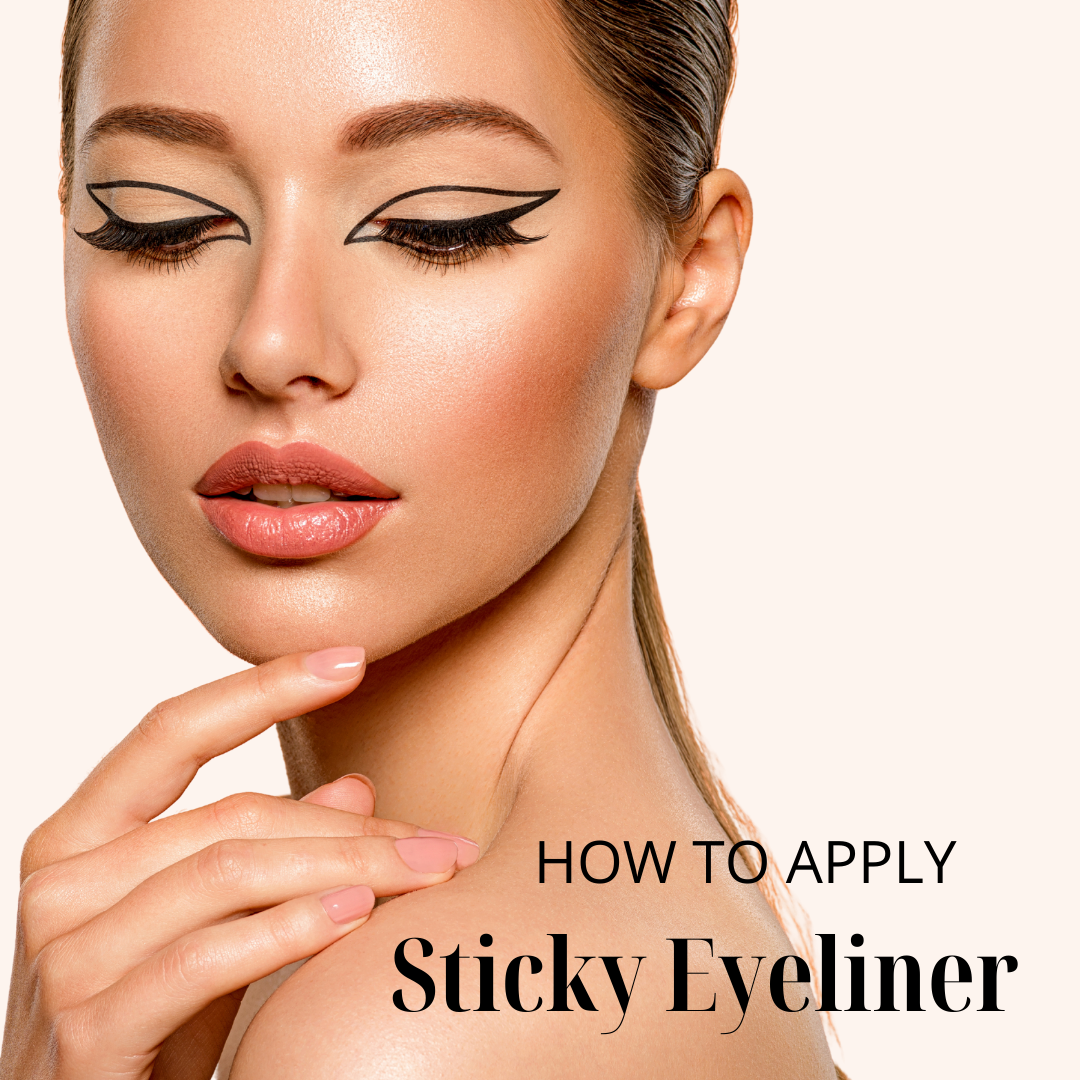
STEP 4: CHOOSE YOUR ADHESIVE
This used to be the bane of lash wearers existence. Generally lash glue is just not sexy. It's smelly, runny, goopy, takes forever to dry, and globby (just invented a new word here.) When choosing your lash adhesive first things first: MAKE SURE YOU'RE NOT ALLERGIC! A lot of traditional lash glues have irritating ingredients and LATEX. So, if you are someone with allergies or have skin/eye sensitivities, always check the ingredients AND do a patch test before applying the product to your eyes. Lucky for you, we've made your lash life easier by creating our STICKY EYELINER! *round of applause*
Our product doesn't contain any latex and is easy to apply and doesn't come with an awful scent. It also doubles as an eyeliner (yay for saving an extra step!) Our liner comes in two shades; black (for eyeliner lovers) and clear (for people like me who don't wear much eyeliner.) It is in a pen form with a felt tip applicator, the product just glides on, the clear pen is completely TRANSPARENT and the black pen is the BLACKEST of black liners ever. They last all day, are 100% smudge proof, waterproof (although we don't recommend swimming in it, after all it isn't gorilla glue!) Our Sticky Eyeliner makes applying lashes 1000x easier, you simply choose your liner, apply it just like you would any regular eyeliner, and that's all! You can also layer it over your regular eyeliner/makeup and apply as many coats you like. The more you apply, the stronger the hold, so you're always in control. Find out how to use the liner in detail here.
STEP 5: APPLY YOUR LASHES
Ah, the moment you've been waiting for, the application. Now that you've got your Sticky Eyeliner on, take a mirror that you can easily maneuver, hand mirror, round beauty mirror and look down into it as if you were taking a good look at your nostrils. Take your false lash either with your finger or lash applicator and while you are looking down into the mirror, place it right on the liner, as close as you can to the lash line. Once you've placed it take your finger or lash applicator and adjust the corners down and make sure to press it against the liner so the lash band and Sticky Eyeliner bond. It will take a few seconds for the Sticky Eyeliner to dry, but once it's dry, your lashes will stay in place.
If you are using traditional lash glue, apply the glue directly to your false lash as thick as the lash band. Let it dry a little so it's tacky, about 45 seconds. Then repeat the steps mentioned above. Look down into a mirror and place the lash as close as you can to the lash line in the center of your eye, and then tuck in the corners and let it dry. Your lashes should be on at this point. Everyone has their own technique, but this is the easiest way to do it, especially with our Sticky Eyeliner.
Now then, that was simple wasn't it? It may take you a few tries to get it perfect, but that comes with practice. Make sure to tag us @nelocosmetics #nelocosmetics on our socials so we can repost you and see you rocking our lashes + liner!
If you want to know how to 'undress' your eyes, read our guide here!
Good luck on your lash journey, glad we're a part of it!
I have tried many and I many brands of false eyelashes- NELO is now my one and only go too!! Easy to apply and remove!! Stays in all day Thank you!!
I’m not one to leave reviews, but I absolutely love the sticky liner! Had tried the goopy old liquid a couple yrs ago and gave up wearing lashes. The sticky liner is a game changer, so easy. 100% recommended you try it!!!!
I absolutely love this eyeliner pen. This has completely changed my life on applying eye lashes I’m 66 and now I have great confidence in my new look. Thank you😊
Thank you soooooo very much for such an excellent sticky liner!!! You have revived my confidence in wearing strip lashes…I have had countless disappointments with other sticky liners that don’t work and not 100% impressed with the efficacy of magnetic liners either…I am totally delighted to be your new loyal customer!!!
Thank you for the tip. Most helpful. Can hardly wait to receive and try your product – eyeliner and lashes
Leave a comment